One thing that many of us outdoor aficionados love is to take photos of our amazing adventures. Whether we're walking the dog or trekking up Snowdon, there are always opportunities to take some great snaps when out and about.
To celebrate National Photo Week, we've enlisted the help of top landscape photographer Alistair Hamill to give us some top tips on taking amazing photos of the great outdoors.
Here are Alistair's expert landscape photography tips...
1. Stop, look and notice before you take any photo
My favourite quotation about landscape photography is this: “A snapshot says, ‘This is what you would have seen if you had been with me’. A photograph says, ‘This is what you wouldn’t have noticed, even if you were standing right beside me.’ ” I like that mostly because it encapsulates the essence of all great photography: the vision behind the shot. What sets apart a photo that really makes an impact from all the others is in large part the care and precision that goes into selecting and arranging the elements in the shot.
So, when you come to a location that you want to try to capture, stop. Look around carefully. How does the view make you feel? What catches your eye? What subject elements do you want to include? What do you want to leave out? Vision comes first.
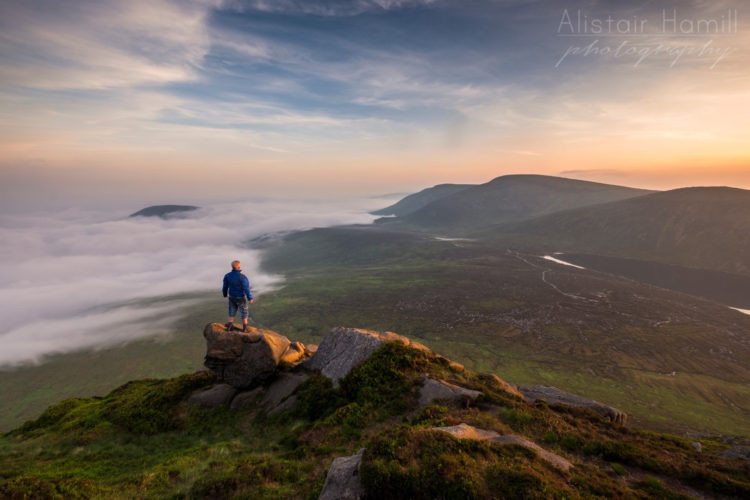
Slieve Bearnagh - Take a moment to study the view - and live deeply in that moment before you take your shot.
2. Use some of the rules of photography to help you frame your shot
Okay, so you’re stopping and looking at the scene. But what are you looking for? Thankfully, there are a few ‘rules’ of photography that can help you. Once you start noticing these, you’ll begin to notice them in photos taken by serious landscape photographers - and you’ll begin to notice them in the landscapes in front of you too!
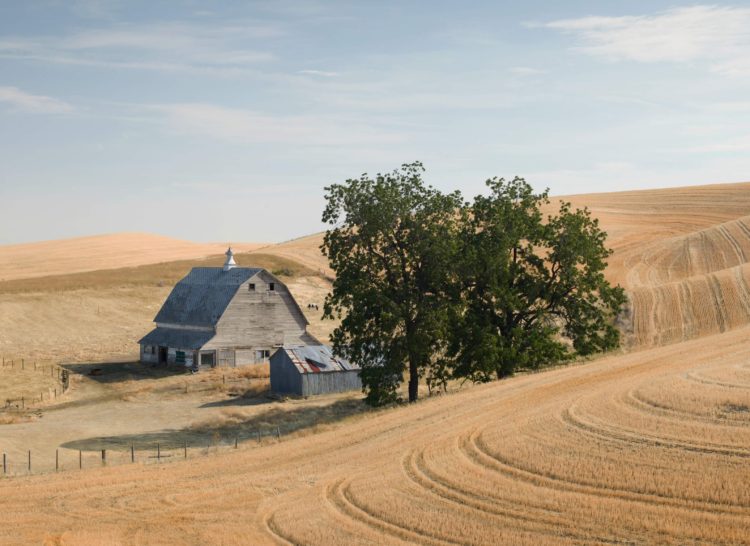
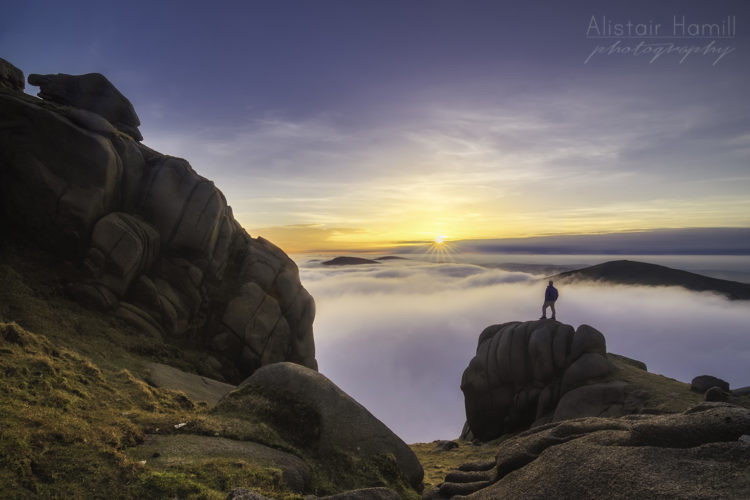
3. Use the ‘rule of thirds’ to help assemble the main subject matter and elements of your shot
Imagine a grid dividing your image into thirds, vertically and horizontally. Try placing your main subject matter on the intersections of these grid lines. Try not to have your horizon line in the middle of the shot, but along these lines. This works as it creates a dynamic in the shot, making your eye move around the image, rather than staying statically in the middle.
Doan Inversion - Notice the placements of the elements here: the figure is on the bottom left intersection of the grid, and the summits are towards the top right intersection. Often if you can find counterpoints like these, they will help the composition of your image.
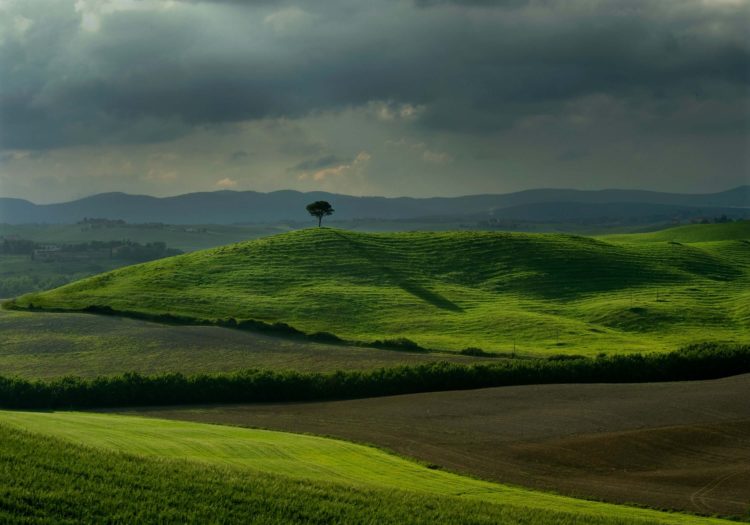
4. Look for leading lines to guide the eye around the shot
Another way of helping the eye move around is to look for leading lines. Are there ways you can help guide the viewer around the image? Often, diagonal lines leading in from the edge of the image can be very good for that.
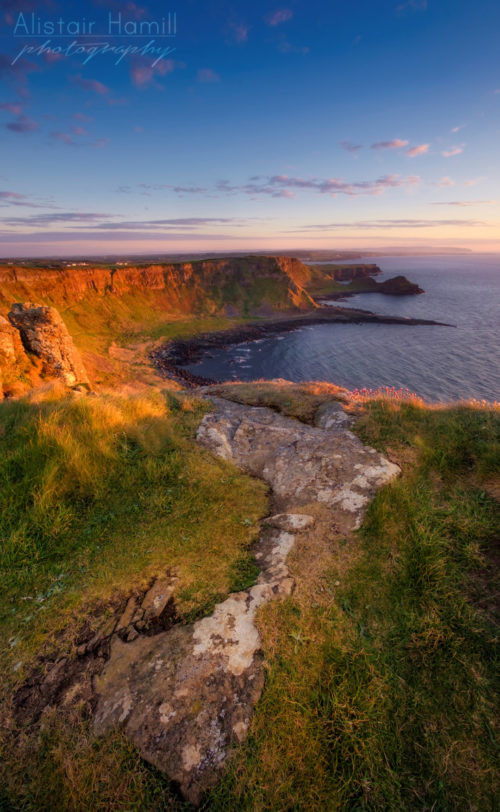
Causeway Cliffs - The leading line of the rock in the foreground guides the eye from the bottom left of the image around, our of the foreground, and towards the cliffs of the Giant's Causeway behind, producing a big 'S' curve sweep through the image.
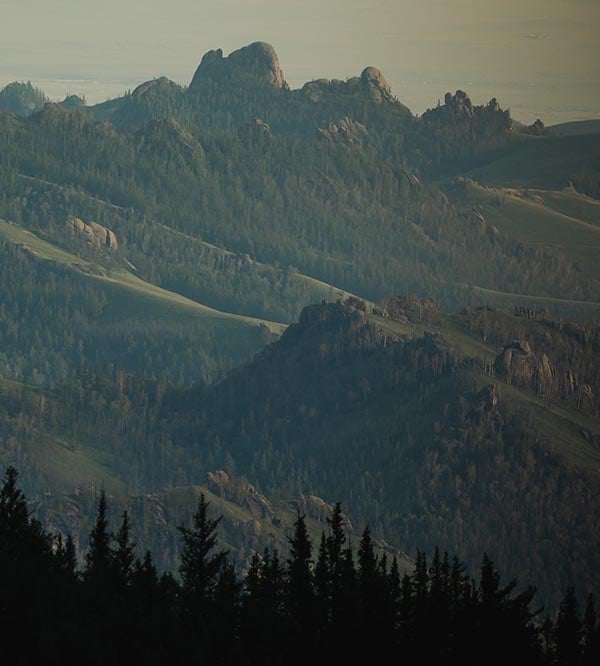
5. Find something of foreground interest to include in your shot
This is often one of the best ways of setting your image apart. Okay, so we all see that massive mountain in the distance. But what about this boulder right beside me? Can I incorporate it into my image? One thing with foregrounds though, be careful not to let them get too messy. Try to tweak your composition just right to allow you to include those elements you really intend to include and to remove clutter as much as you can.
Pierce's Castle - I was attempting to create a sense of depth in this image by not only including the great light over the background mountains and mid-ground hill, but also the foreground boulder. I had to work hard to find a composition for the foreground that wasn’t too cluttered!
6. Pay careful attention to the corners and edges of your shot
Linked to tip 5 is the corners and edges of images. If you have lines leading in from the corners, try to arrange your composition to have the lines coming right in from the corners. Also, if there are boulders at the edges, try not to have them cut off by the edge of your shot.
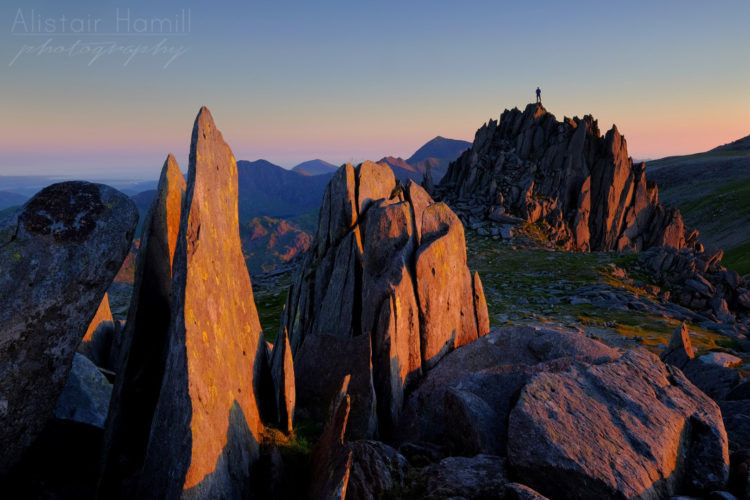
Glyder Fach, Snowdonia - Anyone who has been up the summit of Glyder Fach in Snowdonia will know how many shards of rock there are there. When I was going for my own take on this classic shot, I was trying to pay as much attention to the composition of the corners and edges as possible, to try to get it as clean and uncluttered as I could.
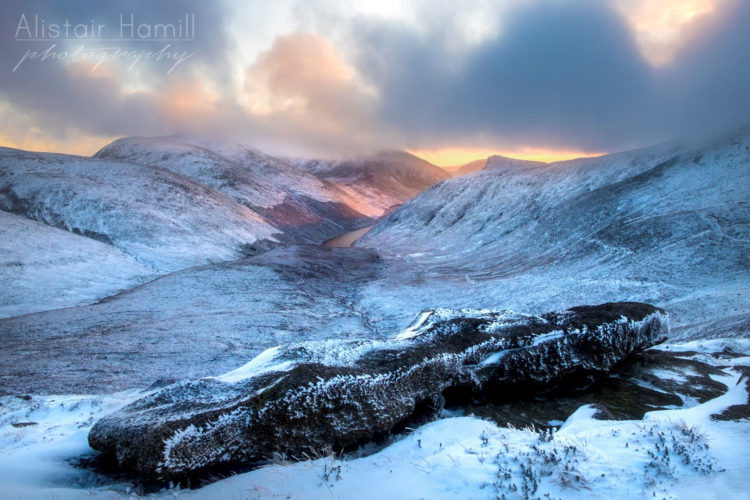
7. Get low - and move around
We all see the world from head height. If you take your photos from head height, then they will look like how we see things around us. But what if you crouch down? All of a sudden, you’ve got a different point of view to the normal - and that might help make your photo stand out just that little bit more. And, while you’re down there paying careful attention to all the elements in the tips above, move a little: left, right; up, down. Those few inches of movement can often be the difference between getting all your elements lined up just perfectly and a shot that just doesn’t quite work as well.
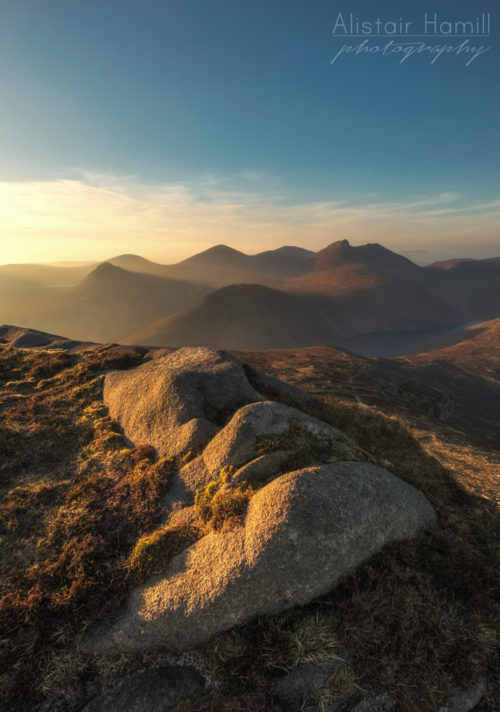
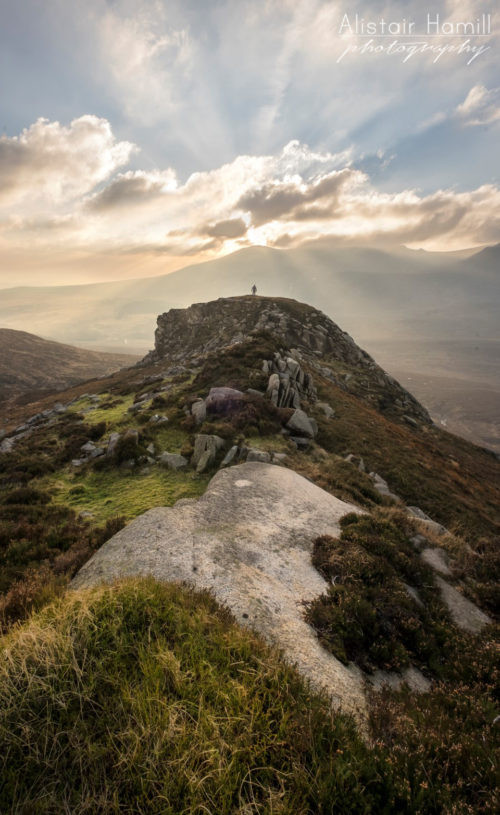
Slieve Binnian, Towards the Heart of the Mournes - Clearly, there was some great light flooding the valleys in the distance, but I wanted to try to give some sense of scale and place for where I was standing by including the foreground rock. I had to get down low and move nudge a bit left and right until I got it into the shape I was after - to create a leading line into that amazing background.
8. Break the rules too!
The ‘rules’ are guidelines. They are an attempt to draw general tips from photos that have worked before. But, sometimes, the best thing to do is to ignore them completely. Experiment with the composition, following the rules, then breaking them. What feels right and best to you? What gives the most impact?
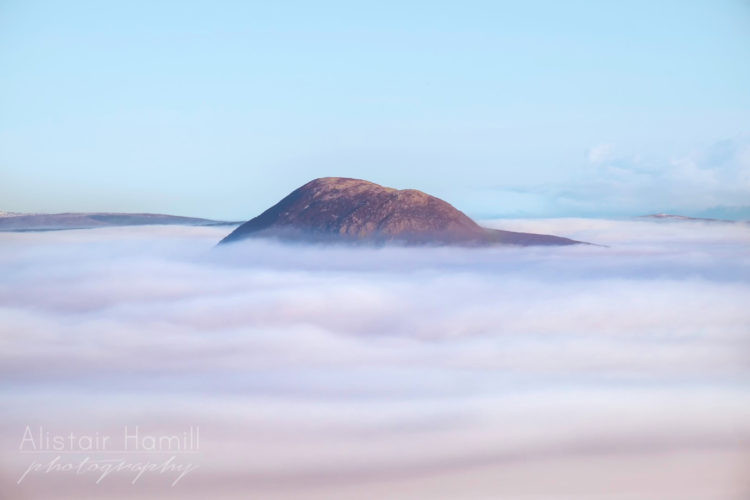
Slemish Under Mist - I thought this worked best with Slemish mountain in the middle, as there were no features in the mist or the sky to act as a counterpoint to it. Slemish acts as a magnet - your eye starts here, then moves out to the mist, but keeps being drawn back to the summit in the centre.
Enjoy your trips this summer, wherever they take you. And good luck with seeing the world with photographer’s eyes!
About: Alistair Hamill is a landscape photography and blog author from Northern Ireland. He is as happy standing on top of a summit in the Mourne Mountains at sunset and he is feeling the waves of the Atlantic Ocean breaking around his feet at the Causeway Coast. He is also a bit of an insomniac, as he is often found out in the wee small hours of the night chasing the aurora and other astro phenomena and runs workshops helping folks develop their photography skills in Northern Ireland’s stunning landscapes.
Thanks so much to Alistair for providing us with some fantastic tips for landscape photography. We'd encourage you to take a look at his website, as well as check him out on Facebook, Twitter and Instagram.
You can also check out the first part of our tips on landscape photography with the world renowned Charlie Waite.