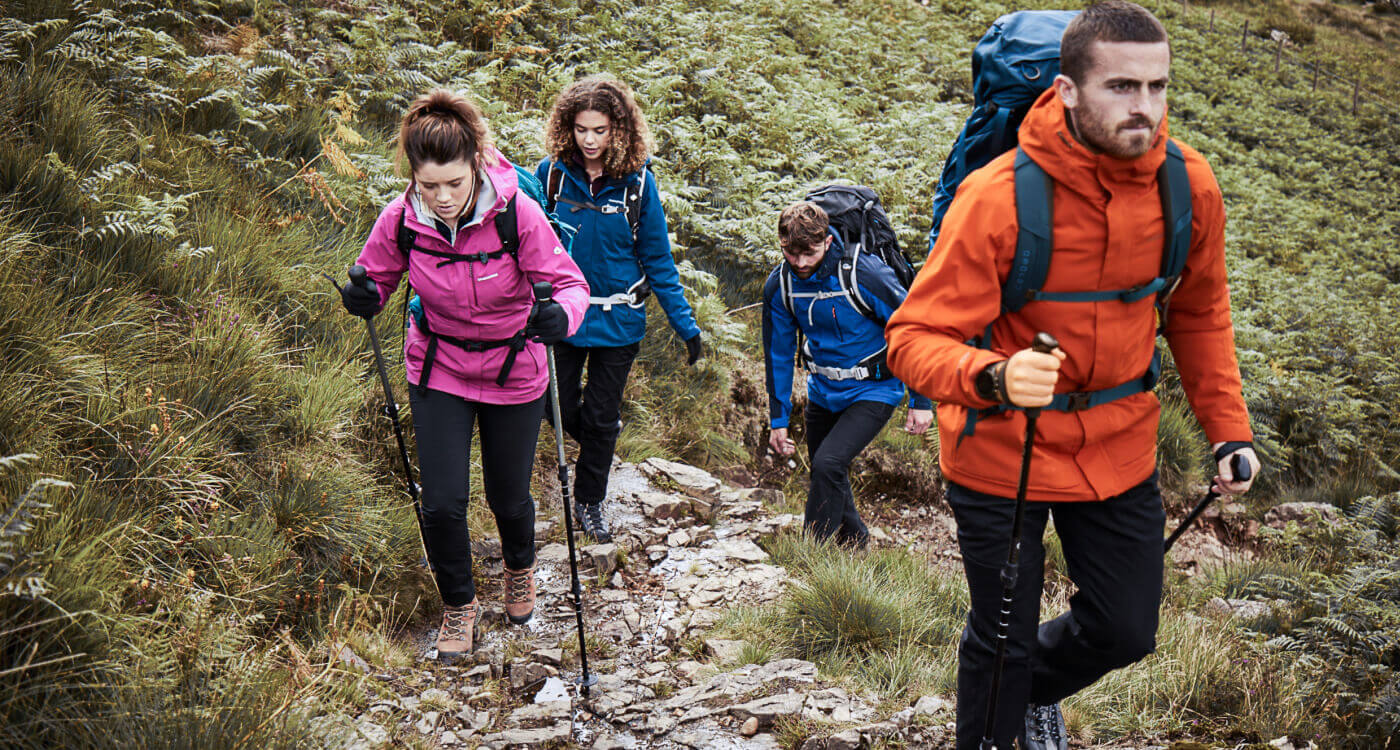
When out walking or hiking, it’s not uncommon to come across plenty of people using walking poles. But why do people use them? Is it just to complete the hiking look?
Well, some may buy trekking poles for that purpose, but they actually have some very practical uses. First-time hikers can be unsure whether they should be using walking poles or not. Walking poles are completely optional, but they do provide stability and support.
Winfields has put together this buying guide to give you the facts about walking poles, so you can decide whether or not they’re right for you. We’ll talk you through the benefits and anatomy of walking poles. We’ll also show you how to use them and share buying tips.
Read on to discover more about walking and trekking poles and whether they’re what you need on your next hike…
Why use walking poles?
The most obvious use for walking poles is to help your balance and keep you steady when walking on uneven terrain.
This is particularly useful when crossing streams or hiking on stony paths where there’s a chance you could slip or lose your footing. You can dig them into the ground and they’ll provide you with some leverage – they won’t take your full weight, however, so don’t rely on them completely.
Simply holding poles in your hands and swinging your arms also improves your momentum. Without poles, it can be all too easy to just put your arms by your side or your hands in your pockets, but by swinging the poles, this will help propel you forwards, taking some of the strain away from your legs.
And it’s this strain on your lower body that is one of the most important reasons to use trekking poles. When you walk, you put pressure on your knees, and in particular the cartilage between the joints. If you’re doing a lot of ascent and descent walking, or if you carry a heavy rucksack, the effect is even worse.
By using poles when you walk, you take as much as 20% of the strain off your knees and onto your arms, which can make a huge difference both in the short and long term. You can also buy anti-shock walking poles that have built-in shock absorbers to lessen the impact even more, which is particularly useful if walking on hard terrain.
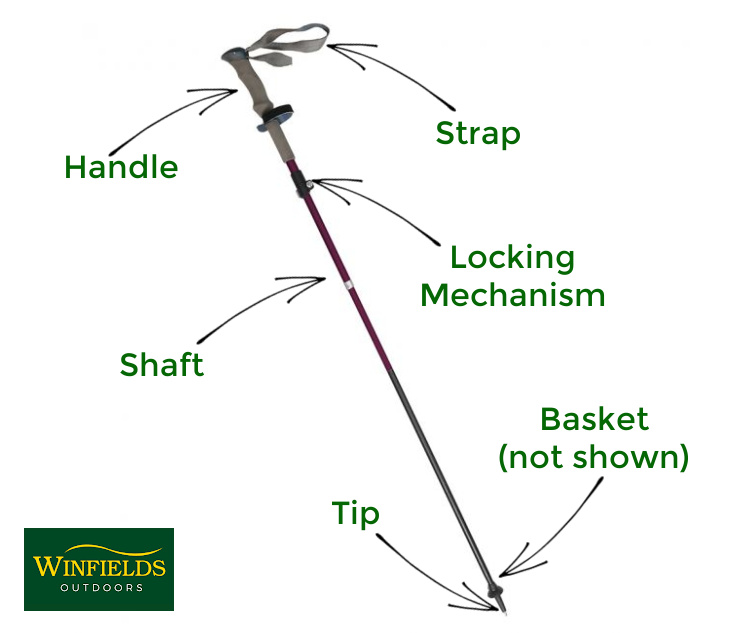
The Anatomy of Walking Poles
We’ve highlighted the key parts of a walking pole on the diagram below and gone into more detail on each one.
Handle
Naturally, this is where you grip the walking pole. Handles are usually made from one of three materials – rubber, cork or foam. Cork grips tend to mould to your hand a little more, but they can absorb some water, which isn’t always ideal. However, foam handles can absorb even more, so aren’t as suited to wet weather.
Foam is the lightest of the three materials and is what you’ll likely find on lightweight walking poles, as well as being softer and cooler than the other two types. Rubber is the heaviest of the three and can get sweaty in particularly warm weather.
Strap
The strap fits around your wrist, preventing you from losing the pole if it slips out of your hand. If there is a chance of slipping, it’s best not to use the strap as it can get caught around your wrist and hand and cause damage.
Shaft
The shaft of your walking pole will likely be constructed from either carbon fibre or aluminium. Carbon fibre shafts are lighter, stiffer and generally stronger, but once they’re damaged then they become pretty useless. Aluminium shafts are a little heavier but can stand up to having a few dents here and there before they need scrapping.
Locking Mechanism
This is where you lock the different sections of the pole in place to determine how long you want it to be. Many poles have more than one locking mechanism, and the more they have, the smaller the poles will pack down.
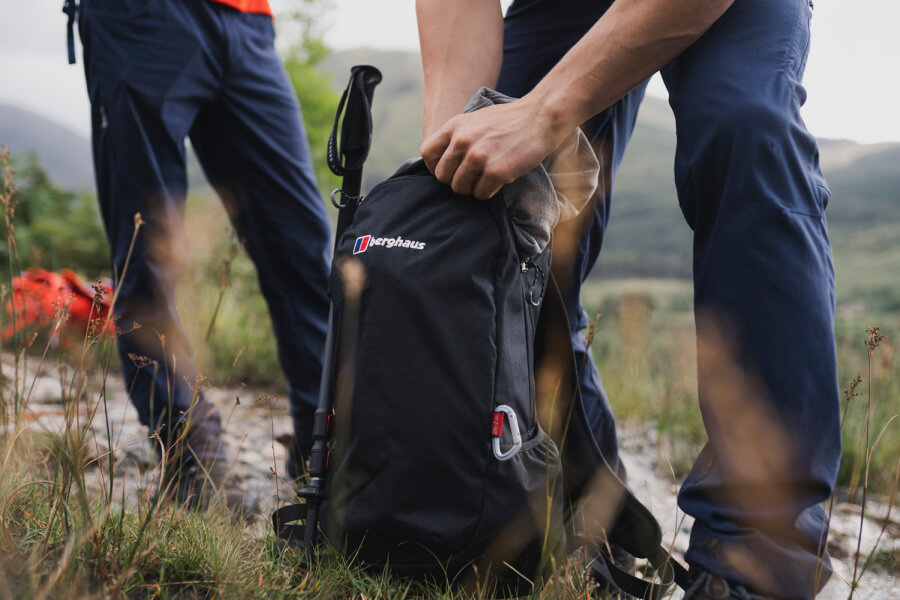
Basket
The basket at the bottom of the pole is designed to stop your pole from sinking too far into the ground, usually in soft mud or snow. Most poles come with small ‘summer baskets’, but if you’re hiking on very soft ground or snow, then you’ll need wider baskets. On very rocky terrain or areas with lots of vegetation, be careful that the baskets don’t get caught and stuck – you might even need to take them off.
Tip
The tip of the walking pole will come in one of three styles – single point, chiselled, and rubber-tipped. Single point tips look like your standard spike, while rubber tipped are, as you might have guessed, tipped with rubber stoppers. Chiselled tips have grooved cut into them that leave several points sticking out, which aids with traction on slippery surfaces.
Both single-point and chiselled tips can usually have rubber stoppers fitted to them to reduce the impact of the tip on the terrain.
How to Use Walking Poles Correctly
Using walking poles might feel slightly odd to start with, but before long they’ll feel like a natural extension of your arms. Here are some tips on how to use walking poles correctly:
Extend the poles so they touch the floor when your elbow is bent at 90° – the poles will need to be a little shorter for going uphill, and a little longer for going downhill.
Each pole should be used in time with the opposite foot moving forwards – eg. right foot, left pole.
You should maintain an upright posture. Leaning too far forward will put too much weight on the poles, putting you off balance.
Use wrist loops for general use, but take them off when there is a slip risk, as they can injure you.
Store the poles away if possible when you might need to use your hands or they can get in the way.
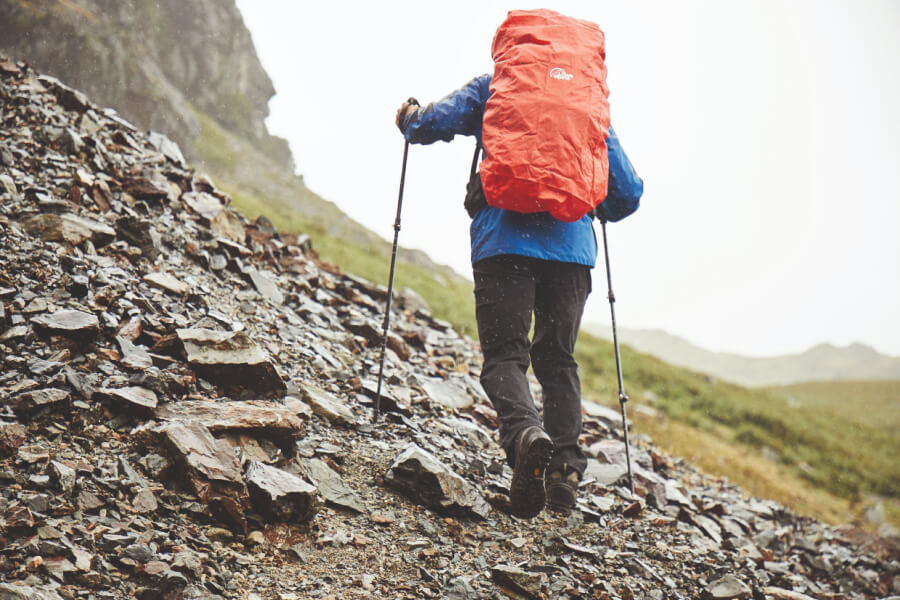
Be very careful using poles on rocky areas. They will have very little grip and can easily slip, particularly if the rock is wet. Walking pole stoppers may offer a little extra grip (as well as protecting the terrain), but don’t rely on them.
One Walking Pole or Two?
While you’re probably more likely to see people using two trekking poles, plenty prefer only using one. Only using one pole means you always have a free hand should you need it. However, you don’t have as much stability as you would have with two poles.
At the end of the day, this boils down to personal preference, so just have a go and see which you prefer.
What to Remember When Buying Walking Poles
To gain the most benefits from walking poles it’s important that they feel right for you. So, there are some key things you need to consider when buying them.
Length
Most walking pole brands provide guidelines as to the right length for your height, or you can buy extendable poles.
As a general rule, the pole should be set to a length that allows your hand to lightly grip the handle while your forearm is parallel to the ground and bent at the elbow. Poles can be set longer for descending and shorter for ascending. Some poles also have longer handles so you can move your hands according to the terrain.
Straps
Walking pole straps are a useful addition because they allow you to walk with a looser grip and a more relaxed style.
Handles
Look for handles that feel comfortable in your hand – try out different poles to find the best handle for you. A handle that has a curve will be useful when walking on terrain that requires lots of balance. This could also be very useful when crossing rivers and balancing on stones.
Weight
If you will be walking longer distances, choose a lighter pole. The strongest and lightest are made from carbon fibre, but they are often the most expensive. Pick up and try poles for weight to find what feels ideal for you.
You can browse our full range of walking poles, including the newest additions, online to help you get the most from your next outdoor adventure.
If you want more outdoor essentials and accessories, check out the links below.
Are you looking to get into hiking or eyeing-up a new pair of boots? Well, Winfields is here explain everything about hiking and walking boots with our complete buying guide.