Amazing Meals You Had No Idea Could Be Made Using Camping Cookware

So you’ve just invested in some brand new cookware equipment for your next camping trip. But what are you going to whip up?

So you’ve just invested in some brand new cookware equipment for your next camping trip. But what are you going to whip up?

After all, there’s nothing worse than having all of the top-of-range cookware equipment you could possibly need – with no idea what you can cook or what potential your cookware holds. 

We’ve put together some mealtime recommendations so that you can have the energy you need to make the most of your camping experience.

Read on to find out some amazing meals you had no idea could be made using camping cookware…

One-pan breakfast

One-pan breakfast

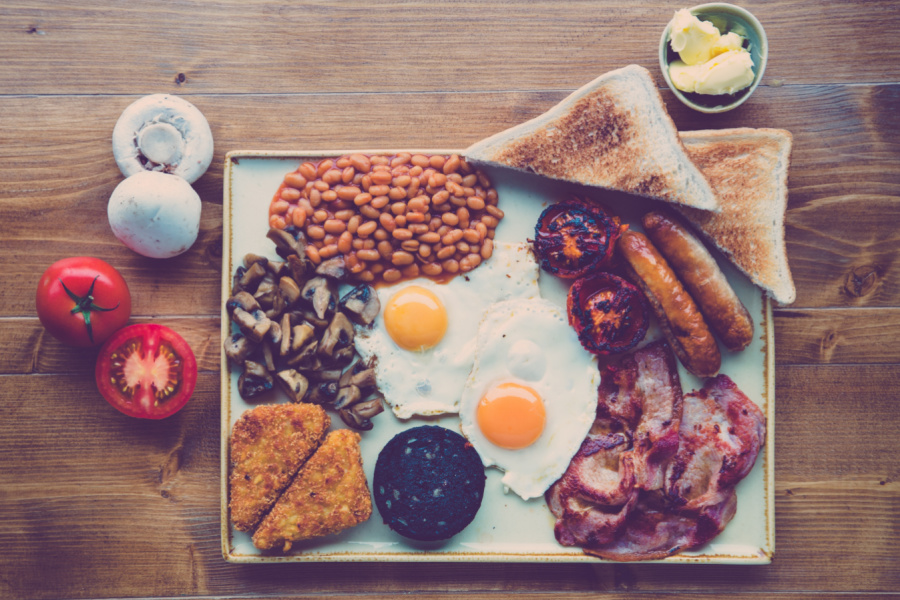
You can’t go on a camping trip without a full English to start your day, right? 

Essentially, a one-pan is a full English breakfast – but better, dare we say. It’s camping style, yes – but it’s delicious.  This recipe will serve up to 5, so simply adjust the ingredients according to your number of campers. All you’ll need is: 

  • Cooking spray. 
  • One large pan. 
  • 2 medium-sized potatoes. 
  • 5 large eggs.
  • 5 sausages.
  • A few cherry tomatoes (optional)
  • Beans.

All you’ll need to do is fire up your stove, place your plan and add cooking oil. 

Once it’s heated up, fry up your sausages until they’re fully cooked through. Whilst the sausages are cooking, dice up your potatoes and add them in. Cook until they’re soft. 

Next, this will be the time to add in your cherry tomatoes if you want them. Move these ingredients to one side of the pan, and crack your eggs into the same pan, using only one-quarter of the half you have spare. 

Fry until cooked through, and then add your beans to the last bit of available space. After a few minutes, it’s ready to serve. All you have to do is distribute the one-pan breakfast evenly, and there should be plenty to go around.
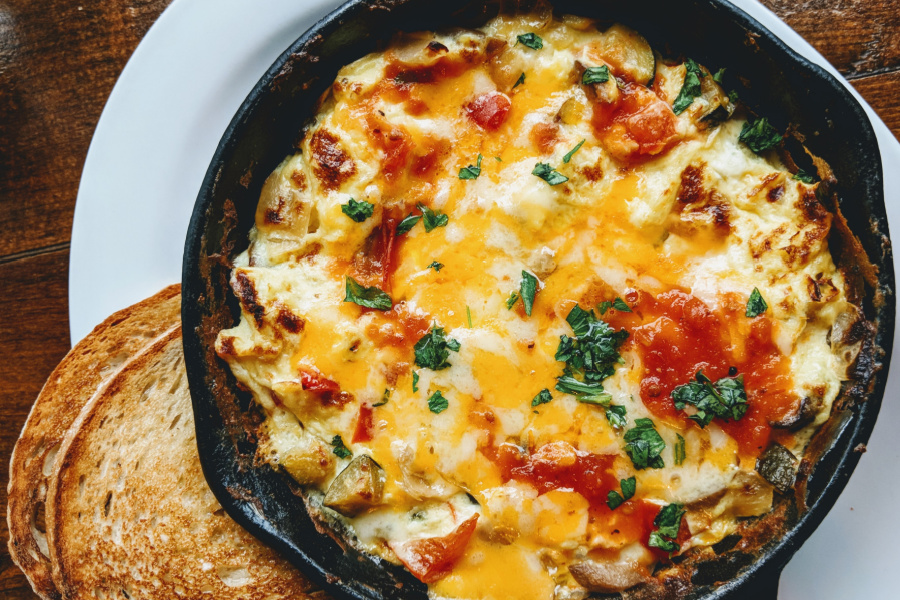
Cast iron frittata

Cast iron frittata

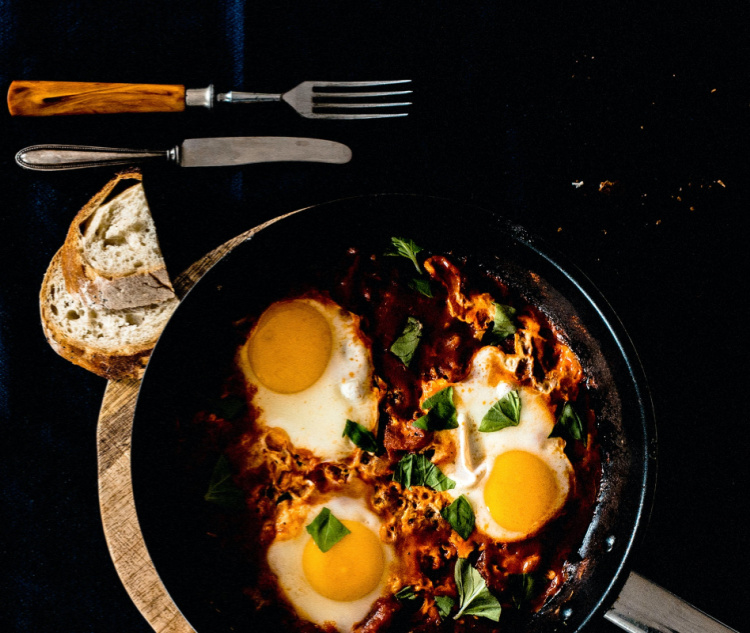
If you’ve opted for a camping gas stove, this one’s for you. Frittatas are almost always a winner amongst hungry campers, and they’re full of nutritious value to give you the energy you need for all your outdoor adventures. Not to mention, they’re also delicious!

Some of the ingredients in your frittata will be down to personal preference. The staples that you’ll need to feed around 4 are:

  • Your camping stove.
  • One large bowl. 
  • A fork. 
  • A spatula. 
  • 20g of butter.  
  • 200ml of milk. 
  • Kitchen foil. 
  • A skillet (we recommend a 10” inch). 
  • Vegetables of your choice – popular favourites tend to be spinach, shallots, garlic, basil, and/or tomatoes. 
  • Eggs – around 6/7.
  • 100g of shredded cheese.

All you need to do is get the skillet onto your camping stove to preheat whilst you whip up the ingredients. Pop the 20g of butter into the skillet whilst it’s heating up so that it melts in time. 

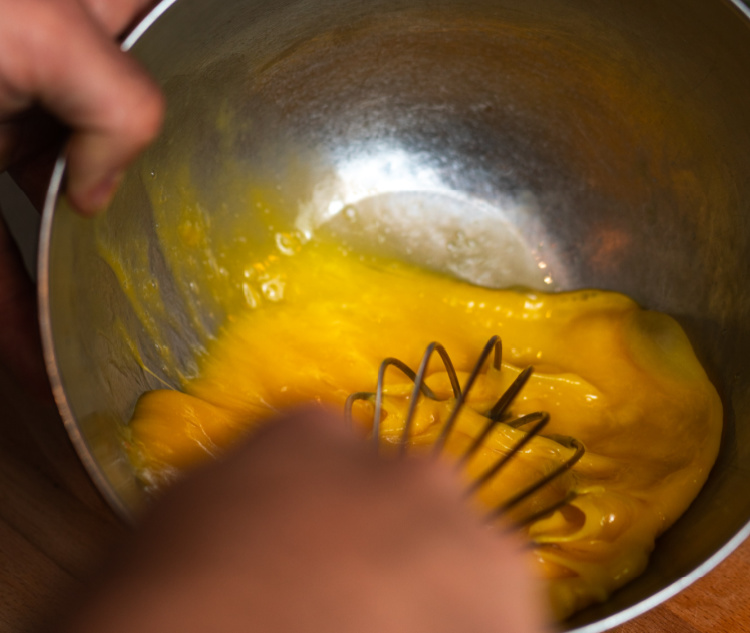
Whilst your pan is heating up nicely, start by cracking all of the eggs into the bowl and whisk until mixed thoroughly (you can use a fork to do this). Next, add the milk and your chosen vegetables into the mixture, and stir thoroughly. Then add the cheese (a little salt and pepper wouldn’t hurt either, but it’s optional). 

Next, pour the mixture into the skillet and cover. If you don’t have a lid to your pan, use kitchen foil. Leave for around 10 to 15 minutes, checking occasionally. After that, it’s time to serve – you’ll be left with a beautifully fluffy and plump frittata. 

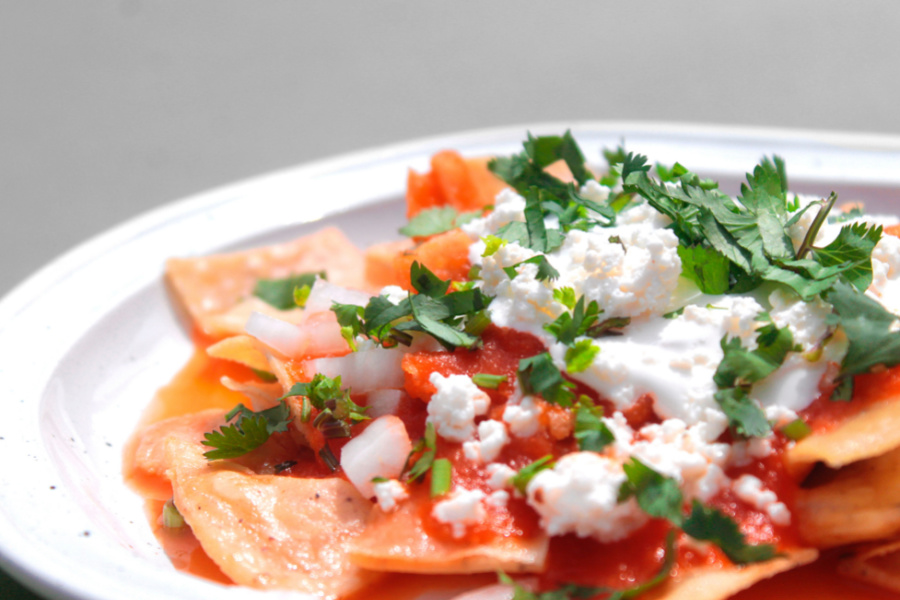
Chilaquiles

Chilaquiles

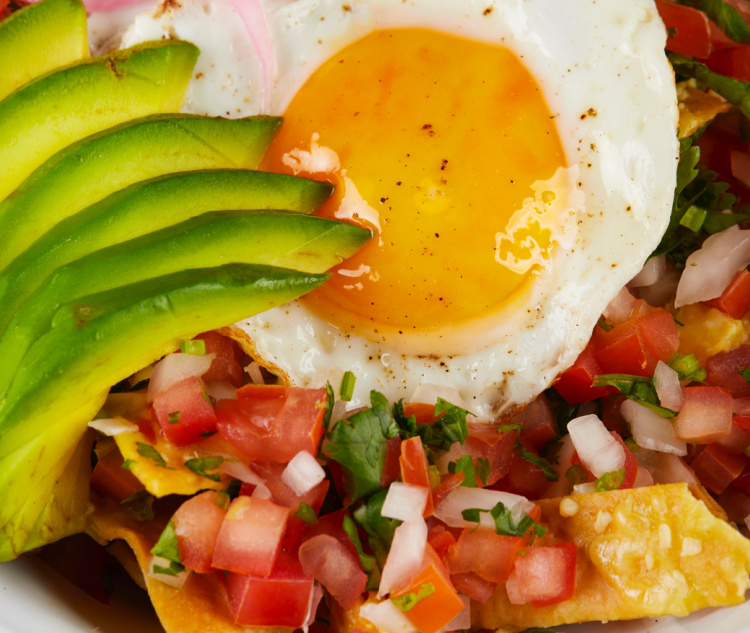
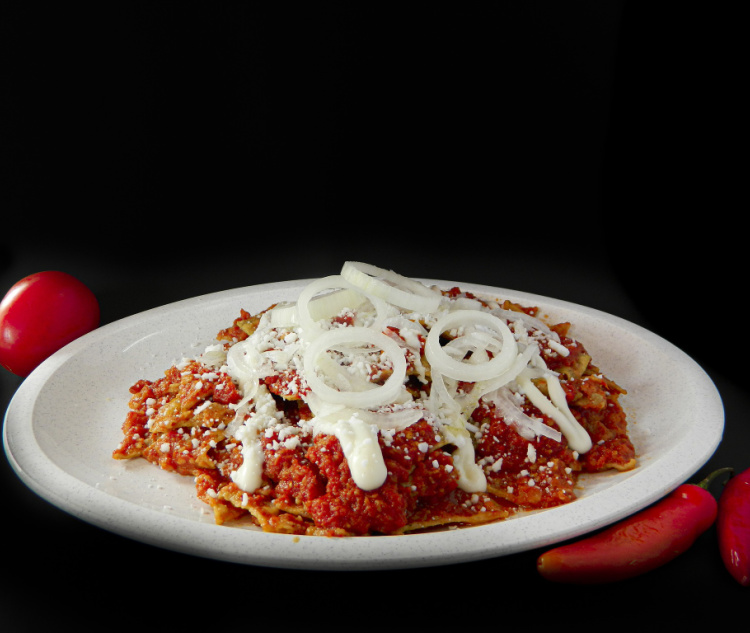
For those of you who don’t know what chilaquiles are, they are a crispy tortilla-based dish, immersed in a delicious spicy tomato sauce – topped with fried eggs. It’s a hearty dish that’s bursting with flavour – making it the perfect camping lunch. 

The entire process will take you around 25 minutes, from start to finish, and the recipe will serve two people. What you’ll need is: 

  • Cooking oil (preferably vegetable oil). 
  • 6 tortilla wraps. 
  • Camping stove. 
  • Skillet. 
  • ½ red onion (chopped). 
  • A tube of tomato puree. 
  • Salt and pepper. 
  • 4 eggs. 
  • Optional toppings – popular choices are cheese, jalapenos, and/or avocado.

Start by leaving the oil to heat in the skillet. Be sure to have the camping stove in a high heat setting. 

Cut your tortillas into triangles (4 pieces from one tortilla) and add to the pan. Fry all for a few minutes until golden brown, and then remove and set aside onto a plate. 

Next, lower the heat to a medium setting. Add your diced red onions into the same pan and saute for a couple of minutes, or until they are soft. If you’re opting for garlic, now is the time to add that in also. 

Next, add your tomato puree into the garlic and onion mix. Thoroughly mix and saute these ingredients, and then leave it to simmer until you see it begin to bubble on the surface. Then, add the tortillas back into the mixture. Stir to coat them thoroughly. 

Lastly, create a centre in the middle of the skillet. This should be easy to do, as your mixture should be thick at this point. Break the eggs and let them fry until cooked. Some people prefer to scramble their eggs in this recipe, so the choice is yours. 

Once the eggs are cooked, simply begin to serve. Add toppings of your choice, season with salt and pepper – and you’ve got yourself beautifully cooked Chilaquiles.

Chocolate Monkey Bread

Chocolate Monkey Bread

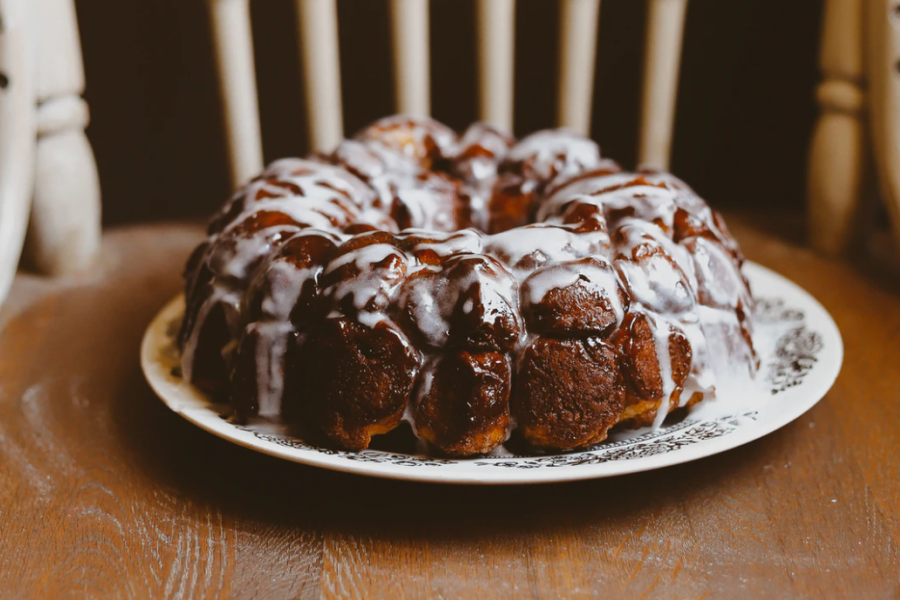
If you aren’t familiar with chocolate monkey bread, it’s a Bundt chocolate cake made from dough, which is rolled in cinnamon sugar. As it sounds, you can expect a sweet and rich dessert, with plenty to go around. 
This recipe will serve up to eight comfortably, so if you’re planning a trip with a smaller or larger party, adjust accordingly.  All you’ll need is:

  • A dutch oven ideally, but a disposable aluminum tray will suffice also. 
  • Cooking spray.
  • Monkey bread mix.
  • 2 packets of biscuits of your choice – we recommend buttermilk biscuits. 
  • ½ cup of brown sugar. 
  • 2 teaspoons of cinnamon. 
  • 1 packet of chocolate of your choosing. 
  • ¼ cup of sugar. 
  • ½ cup of butter.

Every camper needs a sweet treat, so if you’re looking for a winner amongst a larger party – you’ll want to try this one out for yourself. Have chocolate monkey bread ready to serve up to hungry campers in just 15 minutes. 

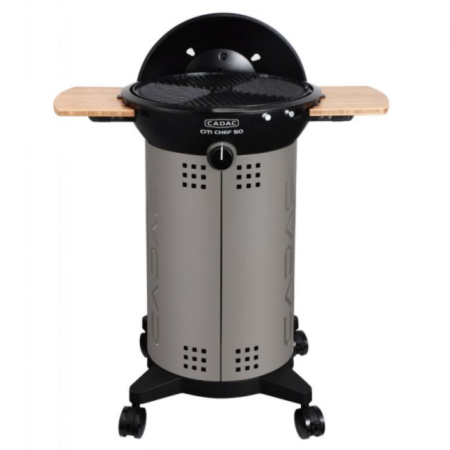
What you’ll want to do is ensure that you have the relevant ingredients stored away in separated zip lock bags before venturing out on your camping trip. All you’ll need is access to your camping BBQ, and you’re good to go. 

  • Turn your BBQ on and leave it to heat up. 
  • All you need to do is melt some butter, and then pour it onto your biscuits in the ziplock bag (it’s up to you, but ideally break your biscuits into quarters).
  • Add the sugar and the brown sugar into the bag. 
  • Reseal the bag, shake until all the biscuits are covered, and leave it to one side. 
  • Next, line your dutch oven with cooking spray and place it onto the already fired-up BBQ.
  • Spread out buttermilk biscuit dough. 
  • Pour the now buttery and gooey biscuit mix into the dutch oven and spread evenly. 
  • Sprinkle the two tablespoons of cinnamon evenly onto the monkey bread mix.
  • Leave on the BBQ for 5 to 10 minutes. Once ready, leave to one side to cool.
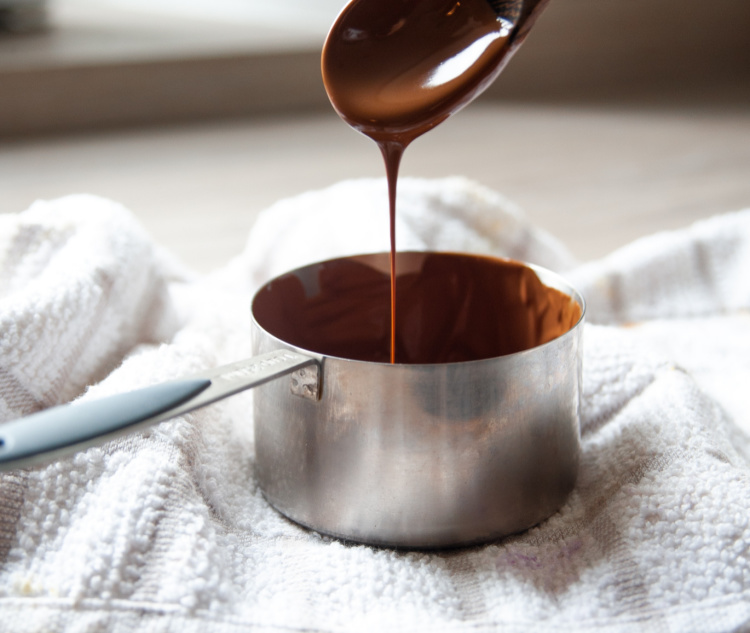
  • Next, heat another pan and melt your chocolate. 
  • Once fully melted, simply pour straight onto your monkey bread from the pan. 
  • And that’s it! Your camping-style chocolate monkey bread is ready to serve.

S’more nachos

S’more nachos

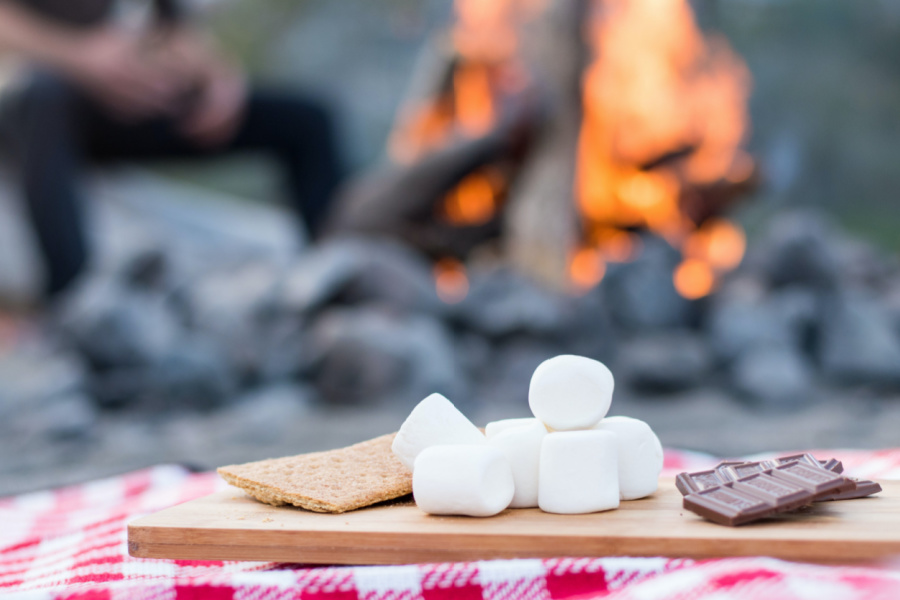
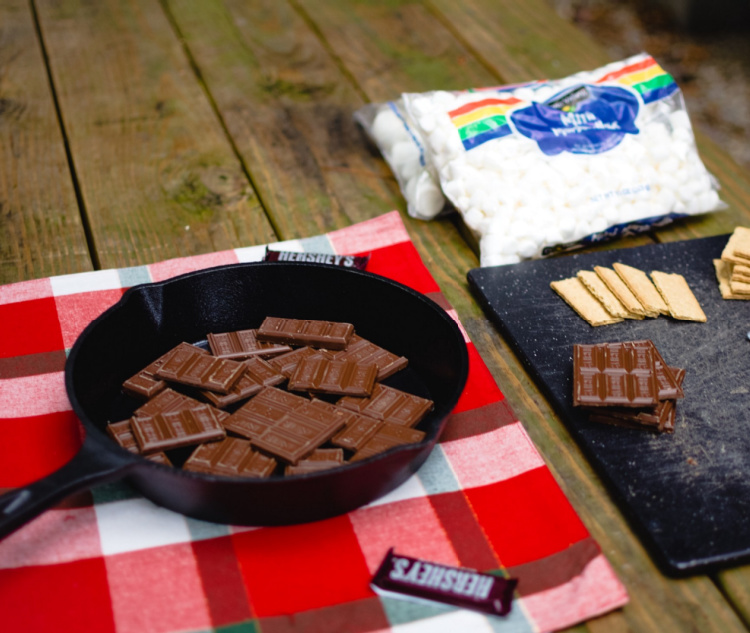
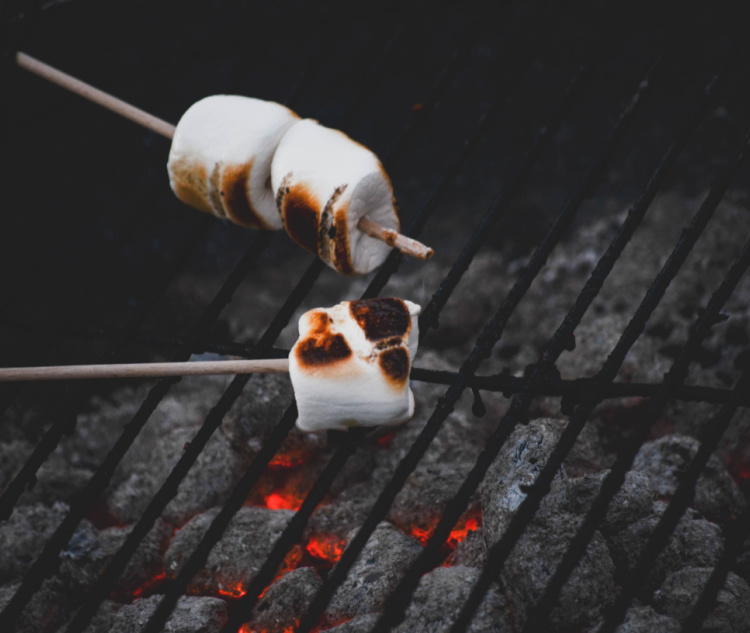
Lastly, here’s one that the kids will love. A modern twist on s’mores around the campfire – why not try s’more nachos on the grill? And the great thing is, this dessert will also take 15 minutes (or less) to complete. 

That’s right. All you’ll need is access to a camping grill and the relevant ingredients. These include: 

  • A disposable aluminium tray for grilling. 
  • Digestive or rich tea biscuits. 
  • Milk chocolate of your choice.
  • Marshmallows, of course!

This recipe is all down to preference. There’s no set way to make s’more nachos – it’s up to you to see fit. If you prefer them to be marshmallow heavy, add more marshmallows. If you prefer them to be more chocolatey – add more chocolate. 

Assemble in the aluminium tray as desired, and leave on the grill for 10 minutes on a medium heat setting. Once ready, you’ll have nacho-style smores galore!

DON’T FORGET TO CHECK OUT OUR FULL CAMPING EQUIPMENT RANGE.

Leave a Reply