If you’re an experienced camper, you’ll know that your kit and gear can be damaged - so it’s best to have spares.
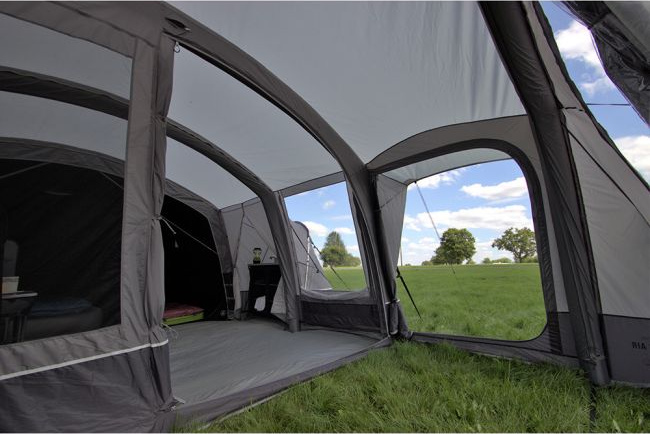
The same goes for your inflatable tent. While traditional tent poles are prone to breaking, air tubes aren’t exempt from going faulty, either. Although air tubes should last for years to come thanks to their tough construction, damage or punctures can happen.
That’s why you need to have spares on hand, just in case something goes wrong. From patching tape to spare tubes, you should never leave home without them. So, what should you do if you spot a puncture or damage?
Read on to find out why you should buy an inflatable tent tube and how to replace an air tube in your tent…
Why should I buy a spare air tube for my tent?
There is only one answer for this because you never know when you may suffer a puncture or damage to your tent’s air beam.
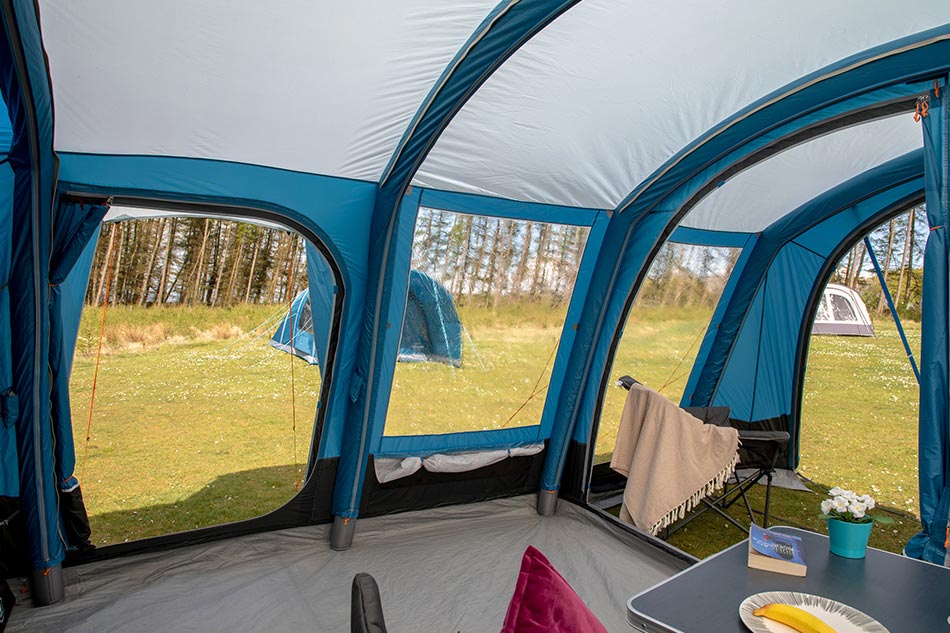
Air tents are created to an incredibly high standard and are no less reliable than their poled alternatives. Just like regular tents, inflatable tents can withstand a fair bit of battering but will get damaged if not cared for properly.
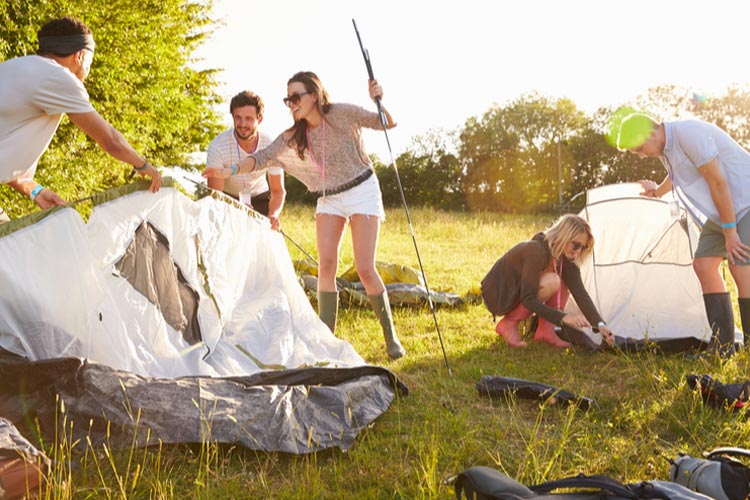
Punctures are incredibly rare in air tents. You just need to be mindful of any particular sharp objects when you’re pitching the tent. Ensure you’re on a level surface, clearing away rocks and any other objects.
Should your tent suffer a puncture, you can repair it on-site with a kit or buy a replacement tube to fit yourself.
A good question to ask is ‘Would you go on a bike ride, without a spare inner tube?’. The difference here though is that while the tube would be replaced under warranty but at least you will always have a spare tube at all times.
How to repair a tent air tube
If you have to repair an air tube on your inflatable tent, you can temporarily repair it, however, this is only a temporary solution - ideally, the tube needs to be replaced when you return from your camping trip.
Firstly, you need to deflate the tube - wait until the air is completely gone - and then remove it from the protective sleeve.
You should never open or remove the air tube unless you are positive that it is leaking and needs repair.
Remove the internal bladder from the sleeve/casing. Your air tube is made of two parts, the internal bladder, the plastic tube you inflate, and a case that can be zipped closed. The case gives shape to the air tube and protects the bladder.
You can check your valve that it’s ok, and if it is, you can keep using it. Once that’s done, you can remove the air bladder from the case.
Then, find your puncture or leak in the plastic bladder tubing.
Stretch out and flatten the tube as much as you can on a flat surface and apply - in this and most cases - tape. You can find repair tape by McNett, Regatta, Highlander, and Summit, but duct tape will also work well as a last resort.
Make sure the tape is firmly stuck on the plastic bladder with no air pockets in the tape.
You’ve now repaired your air tube and it’s ready to go back in the casing for use in your air tent.
How to replace an air tube
If you’ve tried repairing your air tube with tape and have found it hasn’t worked or the damage is too much, you’ll need to replace it.
Like above, deflate the air tube that you want to replace and unzip it from the inside of the tent flysheet. Once it’s deflated, remove the plastic internal bladder from the outer sleeve/case.
Roll out the new internal bladder flat on the ground parallel to the outer sleeve/casing. Then, insert it into the sleeve making sure you don’t twist it. Fix the bladder in place by attaching the valve into the socket through the casing and into the internal bladder.
If you twist the internal lining, it could result in a blockage or misshapen beam.
If you get to the other end of the tube and have excess inner lining remaining, carefully fold or roll it over to fit the length of the casing. Do this instead of bundling everything into the casing/sleeve. You can tape it in place if you need to.
It’s quite common for inflatable tents to have different sized beams, so, always have the longer tube as your spare. You can easily shorten this to fit the area of a where a shorter one would normally go.
Zip the casing/sleeve closed, making sure you don’t snag the new internal bladder on it.
Then, insert the air tube back into the tent sleeve or flysheet. You can lightly inflate the tube so you have a helpful shape to make installing it easier.
Insert the tube and line the valve up correctly. Then, you can close the tent sleeve around the air tube and inflate it fully.
On-site Repair Tips
Do not inflate an air tube until it is protected by its sleeve – and never undo the sleeve when an air tube is inflated.
Once the repaired air tube is in its sleeve, slowly inflate it.
Regularly check the air pressure so you put as little stress on the repair as possible.
Repairs are temporary, so contact your retailer as soon as possible for a replacement tube.
Tape will often cover all repairs - to the tent, air tube or valves.
Take a look at our full range of tents or entire tent equipment and collection including:
If you love the great outdoors and the lush landscape, you’ll no doubt want to keep it clean and protected. Unfortunately, our overreliance on plastic threatens the nature that we should nurture due, in large part, to the throwaway attitude of some. In our parks and countryside, this has led to a build-up of plastic […]
The right tent can make all the difference to your camping trip – and an inflatable tent is a superb option to save you time, energy, and headaches at the start and end of your trip. Keep reading this guide to learn more about inflatable tents, including some of our favourites here at Winfields.
You’ve reached your pitch and you’re about to put up your tent, already dreaming about relaxing and enjoying the great outdoors. However, when it comes to actually putting your tent up, you notice it’s damaged. End of your camping trip, right? Not necessarily. Read more: 12 UK Campsites You Must Visit If your tent is […]
 If you’re an experienced camper, you’ll know that your kit and gear can be damaged - so it’s best to have spares.